In-Line Cell Assembly & Use
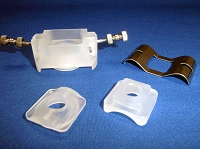
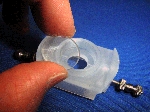
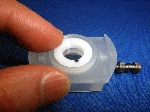
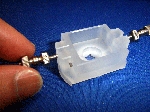
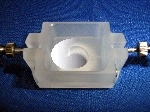
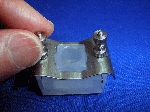
In-Line Cells come completely assembled and ready to use except for sterilizing. After use, it is recommended that they be disassembled and cleaned. They are re-assembled as follows: The body of the cell is held upside-down and the glass or polycarbonate viewing window is placed onto the sealing surface of the receptor compartment. The window locknut is screwed in snugly against the viewing window, overly tightening this locknut is not necessary.
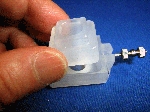
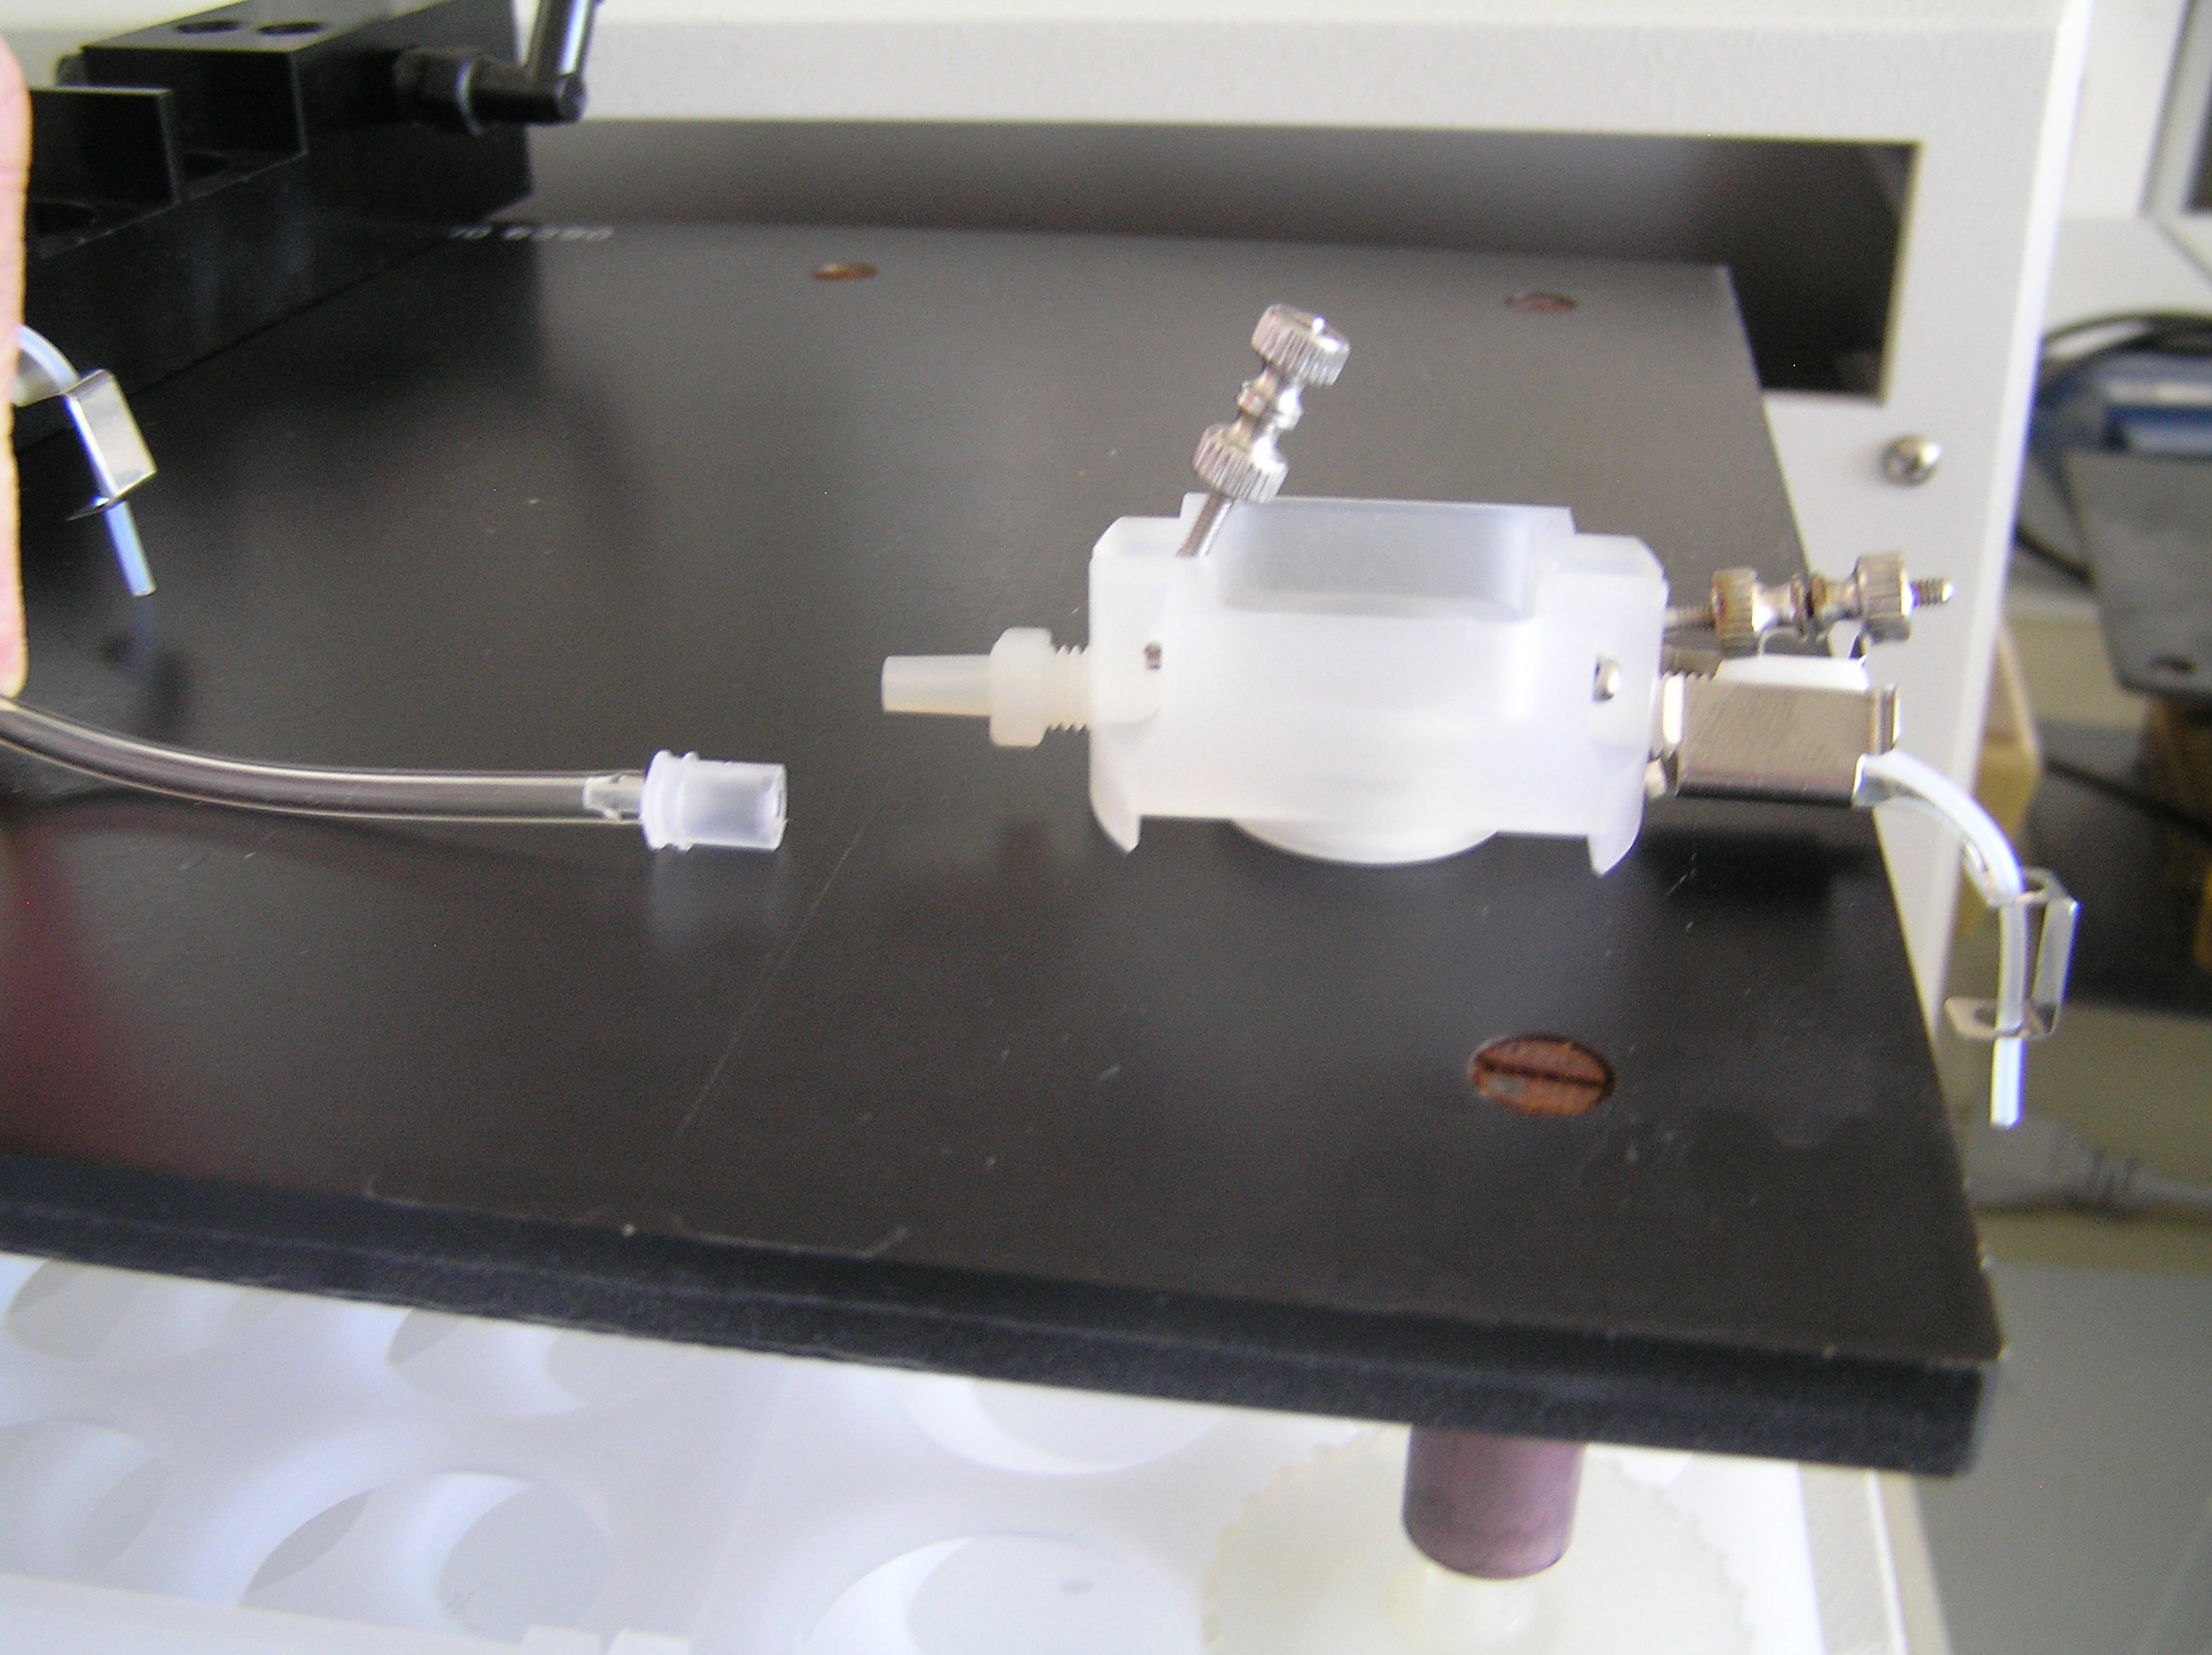
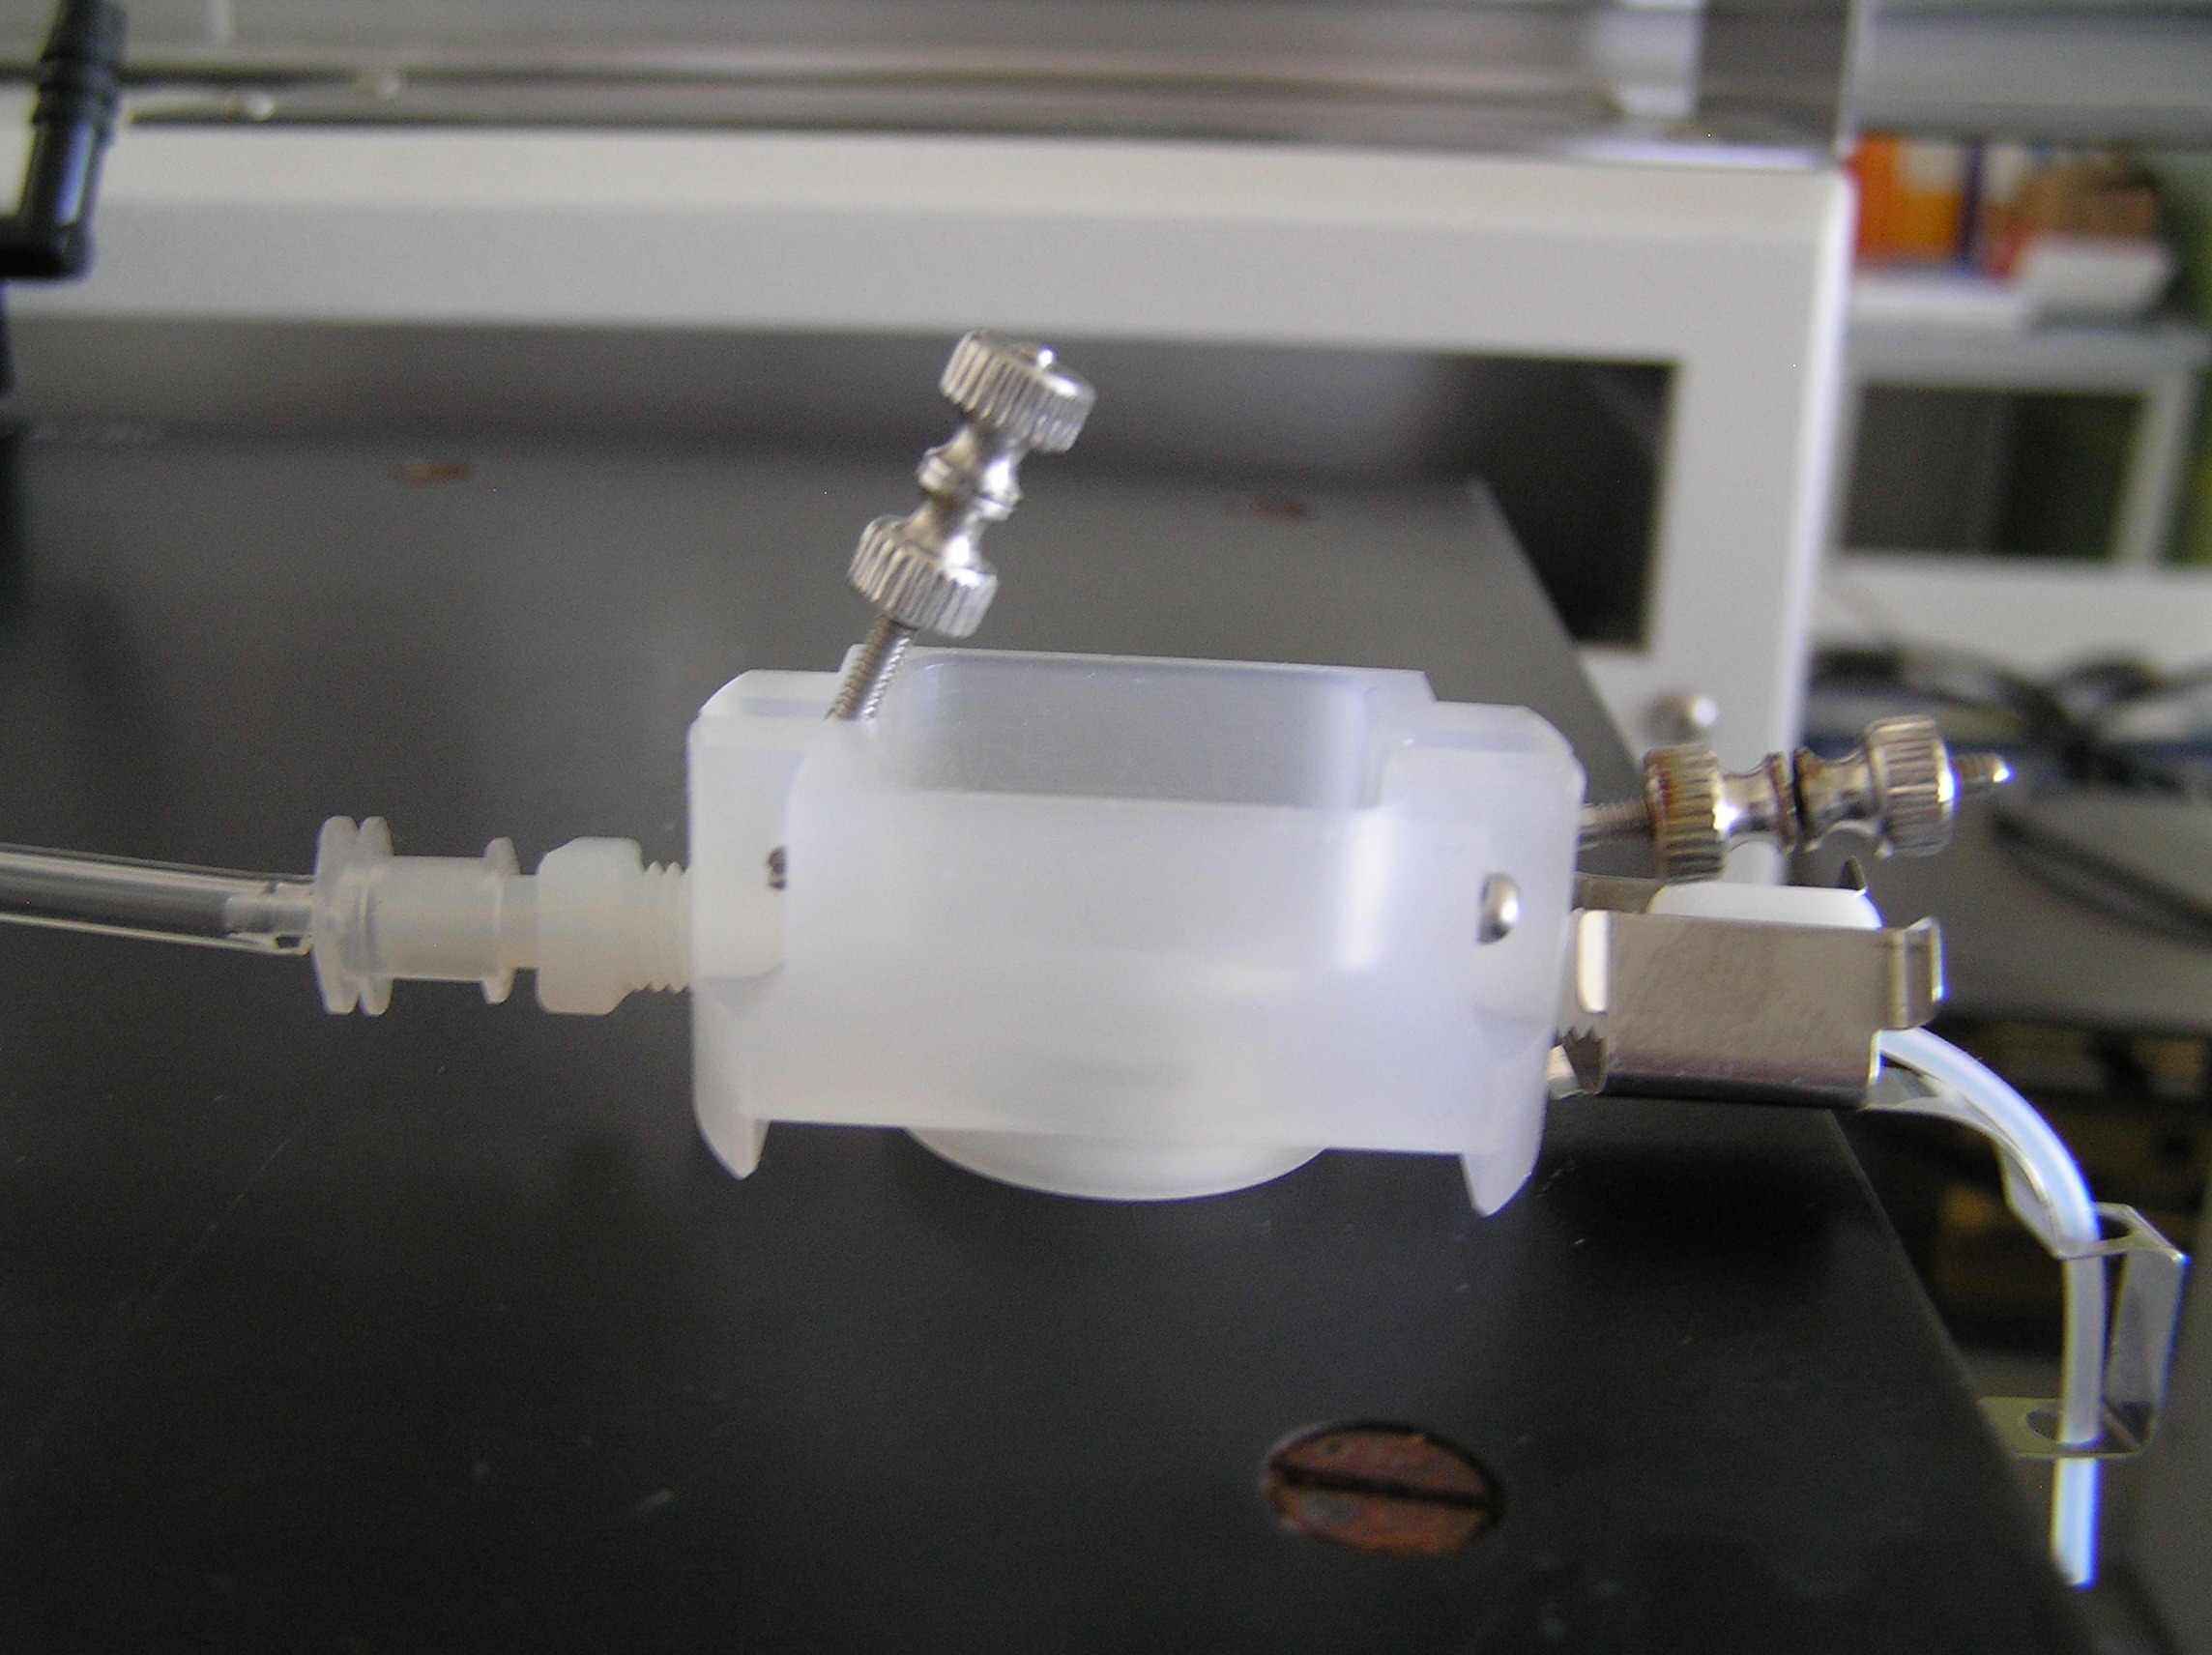
The cell is placed on a horizontal surface and each of the adjusting screw and pressure setting nut assemblies are replaced with the cotter pins that allow them to swivel in and out of the slots in the stainless steel spring. The membrane to be used is placed inside the cell over the orifice which is the top of the receptor compartment. The donor compartment is lowered down within its mating cavity until it rests on top of the membrane.
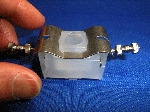
The stainless steel clamping spring is lowered over the donor compartment onto the clamping surface. The adjusting screw assemblies are swiveled into place in the slots of the spring and the pressure setting and locking nuts are adjusted to the desired pressure. Connectors are installed with tubing into the 1/4-28 HPLC inlet and outlet ports and the cell is placed in a Cell Warmer or Twin-Flow Conversion System to be brought up to temperature